


-
•Sand down the filler and prime with metal etch primer
-
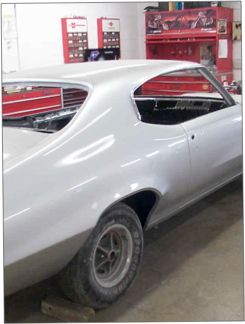
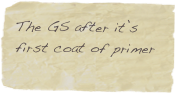
After body is smoothed out and approved, car is sent to paint shop where it is then sanded down more to create an even more smooth surface, and then primed with a metal etch primer.
-
•Add epoxy primer and the "guide coat"
-
A “guide coat” is then added to ensure that surfaces are smoothed and show where sanding has taken place. This will remove all high spots on the car, allowing for frame to look smooth.
-
•Paint all the edges of the body in the color the car will be painted
-
Car parts are then painted the color of the finished car and wait to be installed in the finished vehicle
-
•Strip the chassis, primer and paint with chassis black paint
-
Chassis is then sanded, stripped and then prepared to be painted.
-
• Paint, wet sand and buff vehicle
-
Once vehicle is re-assembled, car is then taken bak to the paint shop where is is finally painted the final color, and then sanded and buffed to make car look as new as the day it was bought!